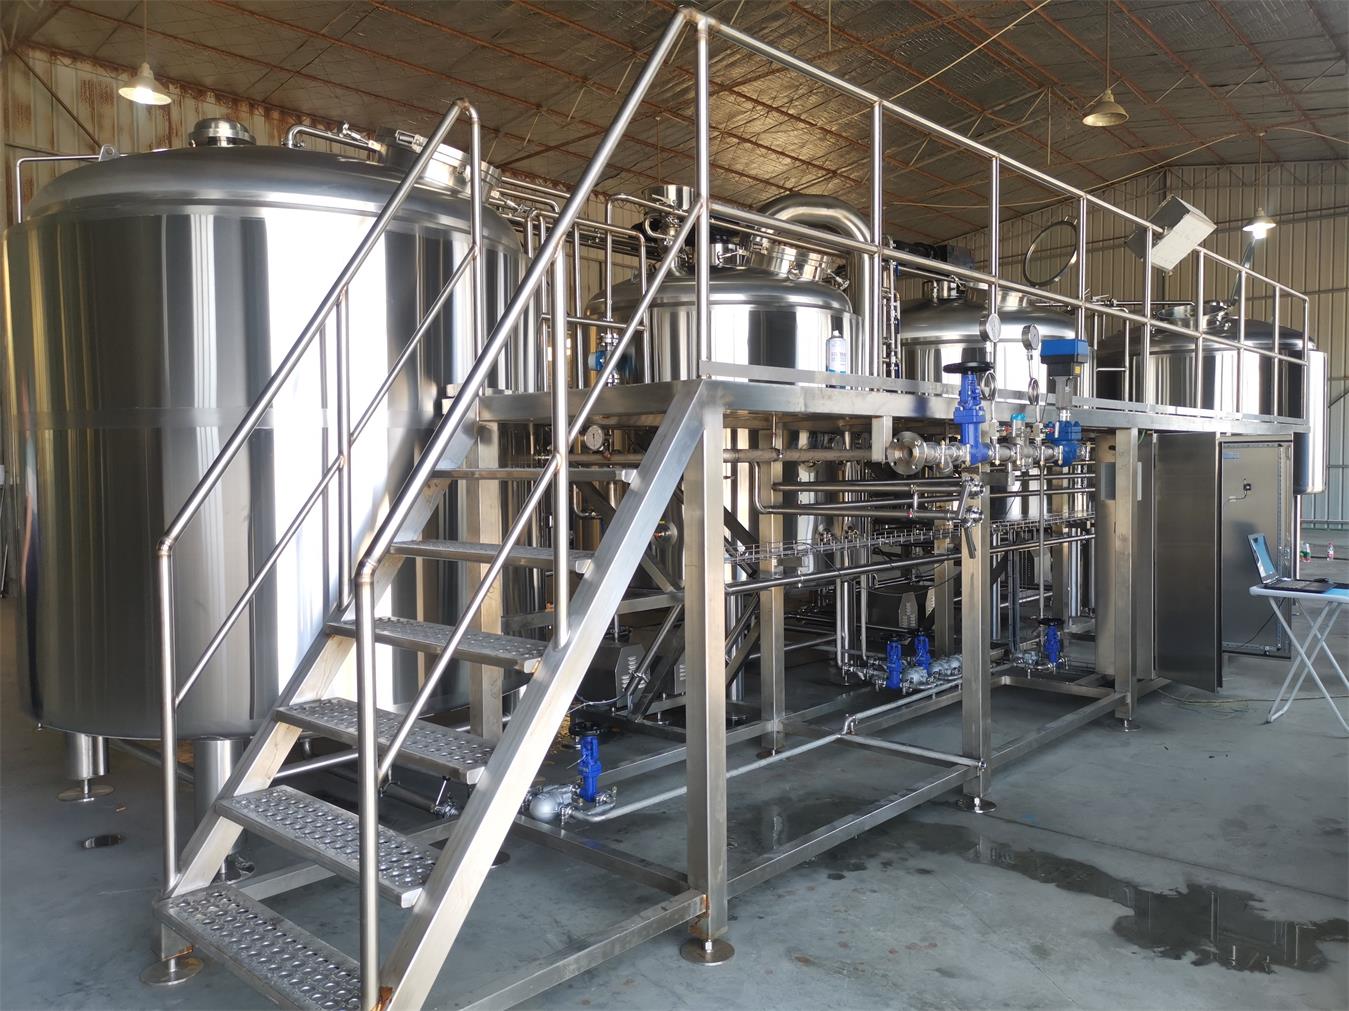
Beer Making Equipment
Homebrewing beer is a rewarding hobby that produces delicious craft beers. With the right beer making equipment, anyone can brew excellent beer at home. This guide covers the essential equipment needed, from kettles and fermenters to accessories. We’ll explore the brewing process, the capacity and customization options, suppliers and prices, installation and maintenance, how to choose equipment, and the pros and cons of different setups.
Essential Beer Making Equipment
The table below outlines the basic beer brewing equipment for homebrewing:
| Equipment | Description |
|---|---|
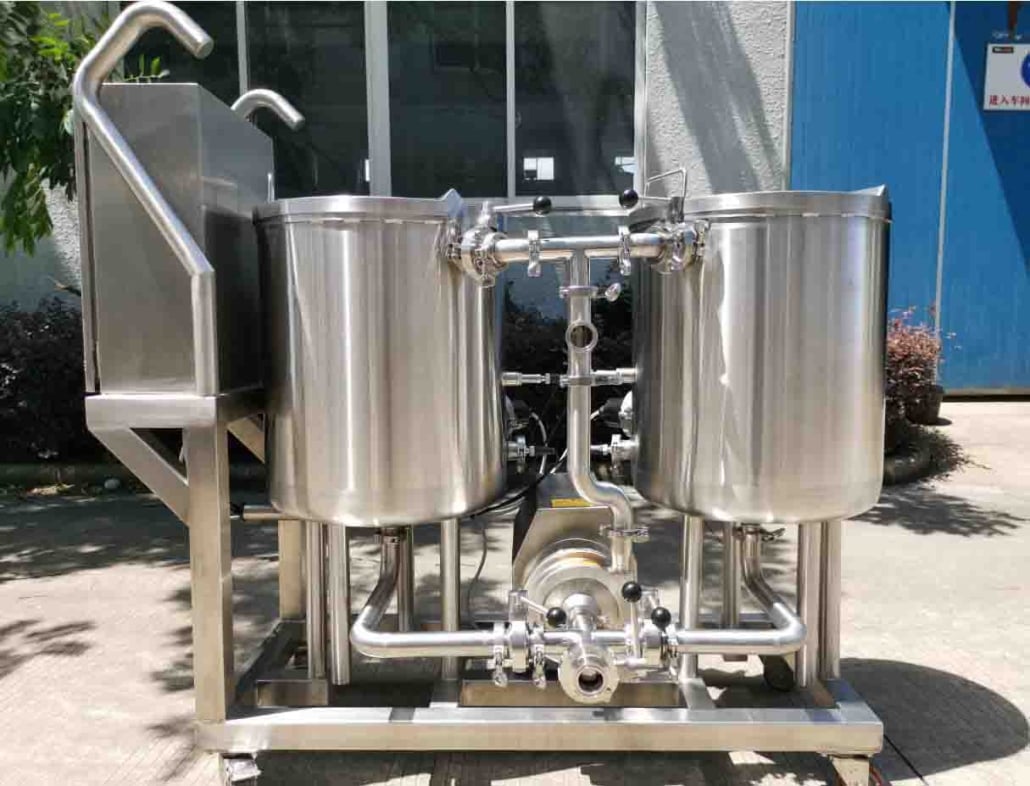
| Brew kettle | The kettle is used to boil malt sugary water (wort) with hops to impart flavor, bitterness and aroma. Common materials are stainless steel and aluminum. |
| Fermenter | The fermenter is where yeast ferments the sugary wort into alcohol. Materials like glass, plastic or stainless steel can be used. |
| Airlock | The airlock allows CO2 to escape during fermentation while keeping oxygen out. |
| Bottling bucket | A bottling bucket simplifies transferring beer and mixing in sugar before bottling. |
| Bottles | Glass bottles with pry-off caps are ideal for bottling beer. |
| Racking cane | A rigid tube for transferring beer between vessels. |
| Hydrometer | Measures specific gravity of wort to determine alcohol content. |
| Sanitizer | Critical for cleaning and sanitizing equipment to prevent contamination. |
Brewing Process Overview
The basic stages in brewing beer at home are:
- Milling – The malt is cracked open to access the starch.
- Mashing – The milled malt soaks in hot water to convert starch to sugar and extract flavor.
- Lautering – The sweet wort is separated from the grain.
- Boiling – The wort boils with hops for flavoring.
- Fermentation – Yeast ferments the sugars into alcohol.
- Bottling – Beer is carbonated by mixing in sugar.
Proper cleaning and sanitizing procedures need to be followed at all stages. Temperature control is also vital for quality beer. The right equipment makes the process easier.
Equipment Capacity, Spaces and Layout
The table below shows typical equipment sizes and space requirements:
| Equipment | Typical Sizes | Space Needs |
|---|---|---|
| Brew kettle | 5-15 gallon capacity | Stovetop or propane burner |
| Fermenter | 3-7 gallons (~12-25 liters) | Bench, closet or temperature-controlled chamber |
| Bottling bucket | 5-8 gallon capacity | Bench/countertop space |
| Bottles | Reuse commercial 12-22 oz bottles | Storage area/shelving |
- Smaller batches require less space but limit variety. Larger batches need more room.
- Temperature control can take up significant space.
- Allow extra room for storing ingredients and supplies.
- A utility sink is ideal for equipment cleaning and transfers.
Customization: The layout can be adapted based on personal preferences and space constraints. Equipment can often be stacked to save room. Custom-building a brewing setup allows optimization, but commercial systems offer simplicity.
Beer Equipment Suppliers and Pricing
There are many homebrewing equipment suppliers to choose from:
| Supplier | Price Range | Offerings |
|---|---|---|
| Northern Brewer | $100-$1000+ | Kits, ingredients and full systems |
| MoreBeer | $50-$2000 | Wide selection of gear |
| Adventures in Homebrewing | $50-$1500 | Kits, parts and accessories |
| Williams Brewing | $100-$800 | Systems, kettles, hardware |
| Keg Connection | $300-$2000 | Draft dispensing equipment |
- Basic kits start under $100. Complete systems run up to several thousand dollars.
- Quality kettles and fermenters start at ~$100 each. Advanced models cost more.
- Ingredients, supplies and accessories have low incremental costs.
- Buy pieces over time or start with a complete kit if within budget.
Installation, Operation and Maintenance
| Task | Details | Frequency |
|---|---|---|
| Installation | Follow supplier guide for assembling gear. Custom builds take planning. | One-time |
| Cleaning | Use detergent and hot water after brewing. | Each use |
| Sanitization | Use sanitizers like StarSan before brewing. | Each use |
| Replacing parts | Supply stores have replacement pieces. | As needed |
| Tuning process | Adjust procedures and recipes based on experience. | Ongoing |
- Clean gently to avoid scratching and keep equipment looking nice.
- Replace plastic gear that becomes stained or worn out.
- Calibrate any sensors and monitors regularly.
- Document processes to improve and repeat successes.
How to Select Beer Brewing Supplier
Consider the following when choosing equipment:
| Criteria | Tips |
|---|---|
| Reputation | Select well-reviewed companies with history. |
| Materials | Stainless steel and glass are best for food contact. |
| Cost | Weigh value versus very cheap/expensive gear. |
| Offerings | Look for kits, à la carte options, customization. |
| Support | Ensure supplier has manuals, parts, assistance. |
| Location | Factor shipping costs and local stores. |
Getting advice from experienced homebrewers is also very helpful for deciding on the best equipment. Local homebrew clubs and online forums provide great communities.
Comparing Home Brew Systems
There are always tradeoffs to consider when setting up a homebrewery:
Pros
- Complete kits provide an easy starting point
- Custom builds allow room to grow over time
- Advanced features automate temperature control
- Unique designs cater to space constraints
Cons
- Piecemeal gear requires more effort to integrate
- High-end systems get very expensive
- Compact setups limit batch sizes
- Irregular kettles can make recipes difficult
The choice ultimately depends on personal preferences, budget, existing space and the desired beer quality. Starting simple and upgrading over time is recommended for new homebrewers.
Frequently Asked Questions
Q: What size brew kettle is best?
A: For beginning brewers, a 5-10 gallon (20-40 liter) stainless steel kettle is ideal. It enables 5 gallon (20 liter) batch sizes with room to boil vigorously. More advanced brewers may use 15+ gallon (60+ liter) kettles.
Q: How many fermenters do I need?
A: One fermenter can work for basic brewing. Having two or more makes flavors easier to control with separate yeast strains and fermentation temperatures.
Q: Is temperature control required?
A: Basic fermentation works at room temperature. But for consistent, high-quality beer, temperature control is highly recommended. Refrigerated chambers or heat wraps for fermenters are common options.
Q: Should I start with a full system or build piecemeal?
A: Complete starter systems are simpler and give everything you need upfront. Building allows customization and spreading costs over time. Either approach can work well.
Additional FAQs for Beer Making Equipment
1) What is the most impactful first upgrade after a basic starter kit?
- Temperature control for fermentation (dedicated fridge with an inkbird-style controller or a fermentation chamber). It stabilizes yeast performance and improves flavor more than any other single upgrade.
2) Should I choose stainless, plastic, or glass for fermenters?
- Stainless: durable, oxygen-tight, easy to clean, higher cost. Plastic (PET/HDPE): affordable, lightweight, risk of scratches/oxygen ingress over time. Glass: oxygen-tight and inexpensive, but heavy and breakable. For long-term use, stainless is the best investment.
3) How big should my brew kettle be for 5-gallon batches?
- 8–10 gallons (30–38 L) minimum to allow vigorous boils and reduce boil-overs. For 10-gallon batches, 15+ gallons (57+ L) is recommended.
4) What water treatment gear is worth having early?
- At minimum: a TDS meter, Campden tablets (chlorine/chloramine removal), and a reliable pH meter or strips. For precision, add a carbon filter and brewing salts (CaSO4, CaCl2) to hit mash pH of 5.2–5.6.
5) How can I reduce oxygen pickup in homebrew packaging?
- Cold-crash to drop yeast/hops, purge kegs/bottles with CO2, use closed transfers from fermenter to keg, minimize splashing, and if bottling, consider oxygen-absorbing caps. Target dissolved oxygen <100 ppb at packaging for hop-forward styles.
2025 Industry Trends: Beer Making Equipment
- Smart homebrewing: Affordable controllers and Wi-Fi-enabled sensors (temp, gravity, tilt hydrometers) enable precise, repeatable processes.
- Compact all-in-ones: Single-vessel electric systems with integrated pumps and controllers dominate small-space brewing.
- Fermentation-first setups: Growth in insulated/pressurized fermenters with spunding valves for natural carbonation.
- Water chemistry focus: More brewers adopt simple RO + salt additions for style-accurate profiles.
- Sustainability: Heat recovery coils and better insulation lower energy per batch; reusable kegging and closed transfers reduce packaging waste.
2025 Benchmarks for Home Beer Making Equipment
| Category | Typical 2025 Value | Notes |
|---|---|---|
| Starter system cost | $150–$400 | Basic kettle, fermenter, essentials |
| All-in-one electric system | $350–$1,200 | 5–10 gal capacity, PID control |
| Fermentation temp control | $80–$400 | Inkbird + fridge to dedicated chambers |
| Water-to-beer ratio | 4–7:1 | Best practice ≤4:1 with recovery |
| Mash pH target | 5.2–5.6 @ 20°C | Style dependent |
| DO at packaging | <100 ppb | Hazy IPAs benefit from ≤50 ppb |
| Lead time for popular gear | 1–4 weeks | High-demand models vary |
Sources: Brewers Association (homebrewing/quality resources 2024–2025); American Homebrewers Association (AHA) guidance; ASBC methods; vendor specs and community benchmarks
Latest Research Cases
Case Study 1: Temperature Control and Closed Transfers Improve IPA Stability (2025)
Background: A homebrewer’s hazy IPAs lost aroma within 3–4 weeks in the bottle.
Solution: Added fermentation chamber with PID control (18–20°C), performed closed transfers to purged kegs, and used CO2-purged counterpressure bottling for shares.
Results: Hop aroma retention extended to 8–10 weeks; packaged DO fell from ~200–300 ppb to 40–70 ppb; perceived bitterness smoothed with fewer oxidation notes.
Case Study 2: Water Chemistry Optimization Boosts Mash Efficiency (2024)
Background: Variable mash efficiency (62–70%) and thin malt character on pale ales.
Solution: Switched to RO base water, added calcium chloride and gypsum to 100–150 ppm Ca combined, targeted mash pH 5.3, validated with a calibrated pH meter.
Results: Mash efficiency stabilized at 74–78%; improved body and foam; clearer wort post-boil due to better hot break formation.
Expert Opinions
- John Palmer, Author of How to Brew
“Controlling fermentation temperature and water chemistry delivers the biggest quality gains for homebrewers—far more than shiny hardware alone.” - Denny Conn, Homebrewing Educator and Co-author of Experimental Homebrewing
“Brew for repeatability. Measure gravity, temp, and pH, and change one variable at a time to learn what truly matters in your system.” - Annie Johnson, AHA Homebrewer of the Year; Brewing Consultant
“Closed transfers and good sanitation protect flavor. Invest early in cleaning discipline, CO2 purging, and reliable valves and fittings.”
Practical Tools and Resources
- American Homebrewers Association (AHA) – Techniques, recipes, community: https://www.homebrewersassociation.org
- Brewers Association – Quality and safety resources: https://www.brewersassociation.org
- Brewfather / Brewer’s Friend – Recipe formulation and batch tracking: https://brewfather.app | https://www.brewersfriend.com
- Bru’n Water – Water chemistry spreadsheet: https://sites.google.com/site/brunwater
- ASBC Methods of Analysis – pH, gravity, bitterness, DO: https://www.asbcnet.org
- Kegland Knowledge Base – Practical hardware tips and specs: https://help.kegland.com.au
Sources and further reading:
- AHA and BA educational articles (2024–2025) on temperature control, oxygen management, and sanitation
- ASBC methods for homebrew-relevant measurements
- Vendor/application notes for all-in-one electric systems and counterpressure filling
Last updated: 2025-09-08
Changelog: Added 5 targeted FAQs; inserted 2025 benchmarks table; provided two recent case studies; included expert viewpoints; compiled practical tools/resources with authoritative links.
Next review date & triggers: 2026-01-15 or earlier if AHA/BA publish new homebrewing best practices, significant gear pricing/availability shifts occur, or new sensor/closed-transfer tech becomes widely adopted.
Share this entry
Interested in learning more about Brewing Systems including additional details and pricing information? Please use the form below to contact us!
YOLONG BREWERY EQUIPMENT FAQS
- Commercial Brewery / Craft Brewery / Microbrewery / Nanobrewery
- What is The Difference Between Craft Beer and Industrial Beer?
- The Bespoke Differences In Custom Brewing Systems
- Everything You Need to Know About Kettle Souring
- How to Choose Brewing Equipment for Your business?
- How To Choose The-Best Partner To Build Your Commercial Microbrewing System?
- Two Detection Sensors That You Need To Use In Your Brewhouse System
- Remote Control Applications in Brewing Equipment/How does it work?
- How To Clean Your Brand New Brewery Tanks?