Home Brewing Equipment
Overview of Home Brewing Equipment
Home brewing is not just a hobby; it’s an art form, a passion, and for many, a way of life. Imagine crafting your own beer at home, tailored perfectly to your taste buds. Sounds exciting, right? Well, the journey to brewing your own beer starts with having the right equipment. But with so many options available, choosing the right gear can be overwhelming. That’s where this guide comes in—designed to take you through every piece of equipment you’ll need, how to use it, and even where to find it. By the end of this guide, you’ll be well on your way to becoming a home brewing pro.
Whether you’re a newbie who’s just getting started or a seasoned brewer looking to upgrade your setup, we’ve got you covered. We’ll discuss everything from basic brewing kits to advanced setups, walk you through the brewing process step by step, and even delve into the nitty-gritty of how to maintain and care for your equipment. Plus, we’ll talk about the best places to buy your gear, comparing prices, and giving you tips on choosing the right supplier. Let’s dive in!
Essential Home Brewing Equipment Guide
Let’s start with the basics. When it comes to home brewing, having the right equipment can make all the difference between a successful batch and a brewing disaster. But what exactly do you need? Here’s a breakdown of the essential equipment every home brewer should have:
1. Brewing Kettle
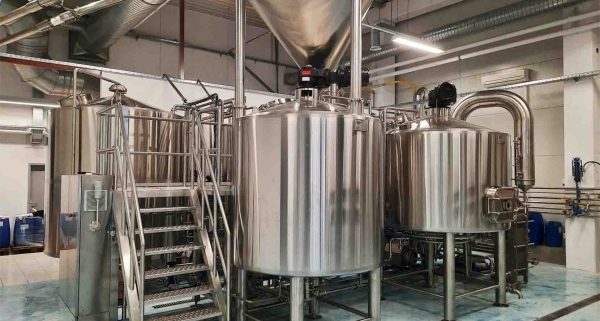
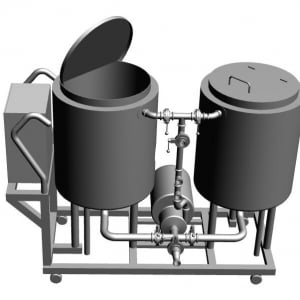
The brewing kettle is where it all begins. This is where you’ll boil your wort—the mixture of water, malt, and hops that will eventually become your beer. Brewing kettles come in various sizes, usually ranging from 5 to 10 gallons. The size you choose will depend on how much beer you want to brew at once. Stainless steel is the preferred material because it’s durable and doesn’t react with the ingredients.
2. Fermenter
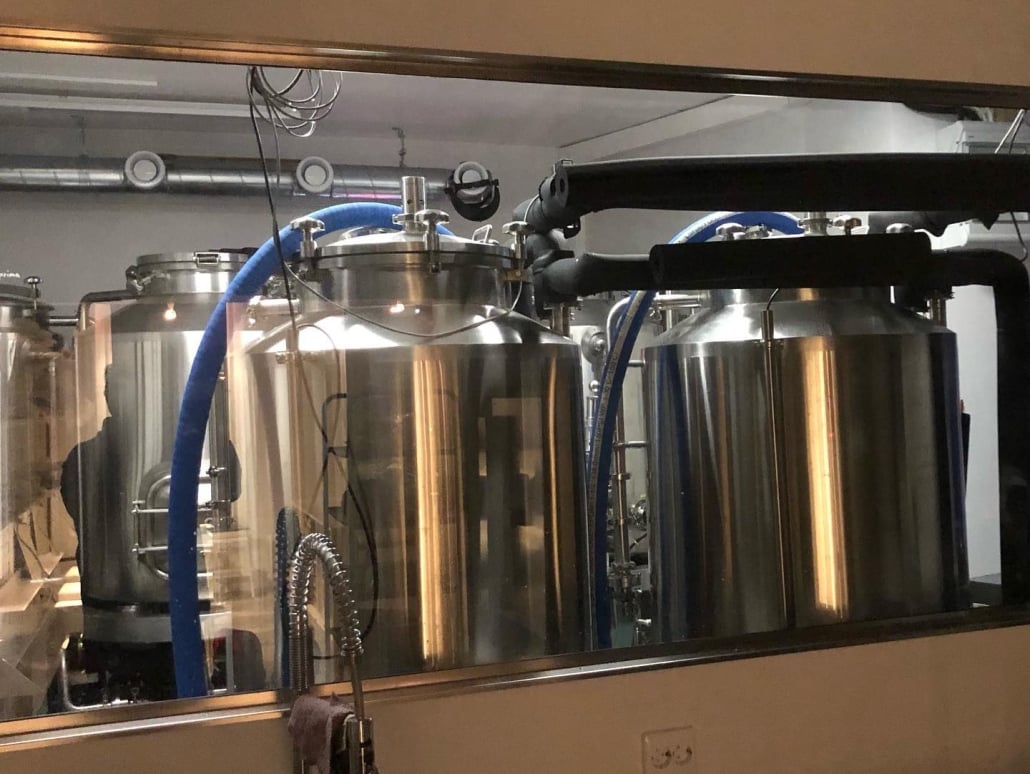
Once the wort is boiled and cooled, it needs to be transferred to a fermenter, where yeast is added, and fermentation begins. Fermenters come in different forms, including plastic buckets, glass carboys, and stainless steel conical fermenters. Each type has its pros and cons. For instance, glass carboys are great because they don’t scratch easily, which can harbor bacteria, but they’re also heavy and fragile.
3. Airlock and Stopper
An airlock and stopper are essential for the fermentation process. The airlock allows CO2 to escape from the fermenter while preventing any oxygen from getting in. This is crucial because too much oxygen can spoil your beer, leading to off-flavors.
4. Thermometer and Hydrometer
Temperature control is vital in brewing. A good thermometer will help you monitor the temperature during the brewing and fermentation processes. On the other hand, a hydrometer is used to measure the specific gravity of your beer, helping you determine when fermentation is complete and how much alcohol your beer contains.
5. Bottling Equipment
Once your beer is brewed and fermented, it’s time to bottle it. You’ll need bottles, caps, a capper, and a bottling bucket with a spigot for easy transfer. It’s important to use the right kind of bottles—usually, brown glass bottles are recommended because they protect your beer from light, which can cause it to spoil.
6. Cleaning and Sanitizing Supplies
Cleanliness is next to godliness in brewing. Any equipment that comes into contact with your beer needs to be thoroughly cleaned and sanitized to prevent contamination. You’ll need a good cleaning solution, like PBW (Powdered Brewery Wash), and a sanitizer like Star San.
Detailed Equipment Breakdown
Now that we’ve covered the basics, let’s go a bit deeper into each type of equipment. Below is a table summarizing different types of equipment based on their use, materials, and essential features.
| Equipment Type | Material | Key Features | Notes |
|---|---|---|---|
| Brewing Kettle | Stainless Steel, Aluminum | Handles, Volume Markings, Heavy-duty Bottom | Stainless steel preferred for durability. |
| Fermenter | Plastic, Glass, Stainless Steel | Volume, Sealable Lid, Airlock Port | Glass for better hygiene, stainless steel for advanced brewers. |
| Airlock and Stopper | Plastic, Rubber | Fits Most Fermenters, Easy to Clean | A must for preventing contamination. |
| Thermometer | Glass, Digital | Accurate to 1°C, Waterproof | Digital thermometers are faster and more accurate. |
| Hydrometer | Glass | Measures Gravity, Temperature Corrected | Essential for tracking fermentation progress. |
| Bottling Equipment | Glass (Bottles), Metal (Capper) | Capper with Magnetic Head, Bottles Dark in Color | Brown bottles protect against UV light. |
| Cleaning Supplies | – | Safe for Food Contact, Non-corrosive | Star San is popular for no-rinse sanitization. |
The Brewing Process: From Grain to Glass
Now that you’ve got your equipment sorted, it’s time to get brewing! The brewing process is where the magic happens—transforming simple ingredients like malt, water, hops, and yeast into delicious beer. While the process might seem complex at first, it’s a series of simple steps that anyone can master with practice. Let’s break it down.
Step 1: Mashing
The brewing process begins with mashing. In this step, you’ll mix crushed malted barley with hot water to create a mash. The heat activates enzymes in the malt, converting the starches into fermentable sugars. The temperature is crucial here—too high, and you’ll kill the enzymes; too low, and the conversion won’t be complete. This step usually takes about an hour, and at the end, you’ll have a sweet liquid called wort.
Step 2: Boiling
Next, the wort is boiled in your brewing kettle. This is where hops are added. Hops are the flowers of the hop plant, and they add bitterness, flavor, and aroma to your beer. The length of the boil and the timing of your hop additions will influence the beer’s final taste. A longer boil will result in a more bitter beer, while late hop additions will give more aroma.
Step 3: Cooling
After boiling, the wort needs to be cooled quickly to a temperature that’s safe for yeast to ferment—usually around 70°F (21°C). This is done using a wort chiller, which is either a copper coil that you place in the wort and run cold water through, or a plate chiller that works similarly but is more efficient.
Step 4: Fermentation
Once cooled, the wort is transferred to your fermenter, and yeast is added. The fermenter is sealed with an airlock to allow CO2 to escape without letting oxygen in. Fermentation typically lasts one to two weeks, during which time the yeast converts the sugars in the wort into alcohol and CO2.
Step 5: Bottling and Carbonation
When fermentation is complete, it’s time to bottle your beer. A little bit of sugar is added to each bottle before sealing it, which the remaining yeast will ferment to produce carbonation. After bottling, the beer needs to sit for a couple of weeks to carbonate fully.
Step 6: Enjoying Your Beer
Finally, the moment you’ve been waiting for—tasting your beer! After a few weeks of aging, your beer should be ready to drink. Pour it into a glass, admire the color and clarity, take a sniff of the aroma, and then take a sip. There’s nothing quite like enjoying a beer you brewed yourself.
Brewing Equipment Capacity, Space, and Customization
When setting up your home brewing system, it’s important to consider the capacity, the space you have available, and the customization options. Whether you’re brewing in a small apartment or you have a dedicated brewing space, there’s equipment that fits every need.
| Capacity | Space Requirements | Design and Layout | Customization Options |
|---|---|---|---|
| Small Batch (1-3 Gallons) | Minimal space needed, can fit on a countertop | Compact design, typically includes a small fermenter and kettle | Customizable with small accessories, great for beginners |
| Medium Batch (5 Gallons) | Requires a bit more space, like a kitchen corner or small utility room | Standard design with a larger fermenter and kettle, might need extra storage | Can add more advanced equipment like a wort chiller or secondary fermenter |
| Large Batch (10+ Gallons) | Needs a dedicated space like a garage or basement | Requires a more robust setup with heavy-duty tables and additional storage | Highly customizable, suitable for advanced brewers or those looking to scale up |
Choosing the Right Supplier and Price Range for Home Brewing Equipment
Now that you know what you need, where do you get it? The home brewing market is filled with suppliers, each offering different levels of quality and price. It’s important to find a supplier that offers reliable products at a fair price. Below is a comparison of some popular suppliers and their price ranges.
| Supplier | Price Range | Product Quality | Shipping Options | Customer Service |
| Northern Brewer | $$ | High-quality equipment, especially for beginners | Free shipping over a certain amount, fast delivery | Excellent, with responsive support |
| MoreBeer | $$ | Wide range of products, good quality | Free shipping on most orders, reliable | Great customer service with brewing advice |
| Amazon | $ – $$$ | Varied quality, read reviews carefully | Fast shipping, Prime options available | Depends on the seller, generally good |
| Midwest Supplies | $$ | Good quality, especially for kits | Free shipping on orders over a certain amount | Good customer service, brewing expertise available |
| Williams Brewing | $$ | High-quality, some unique equipment | Reasonable shipping rates, fast service | Excellent support, knowledgeable staff |
Installation, Operation, and Maintenance of Home Brewing Equipment
Installing and operating your home brewing equipment is a critical part of the process. Proper setup ensures that your brewing experience is smooth and enjoyable. Maintenance, on the other hand, ensures that your equipment lasts for years and your beer is always top-notch.
| Installation | Operation | Maintenance |
|---|---|---|
| Initial Setup: Ensure that your brewing kettle is on a sturdy surface, and all connections (if using a more complex setup) are secure. Make sure the fermenter is in a cool, dark place. | Brewing: Follow your recipe’s instructions closely. Ensure that temperatures are correct and that you’re sanitizing equipment as needed. | Cleaning: After brewing, all equipment that came into contact with the wort or beer needs to be cleaned thoroughly. Use PBW for scrubbing and Star San for sanitizing. |
| Ventilation: If brewing indoors, ensure good ventilation, especially during the boiling phase, to avoid any unpleasant odors or steam buildup. | Fermentation: Keep an eye on the airlock. If it gets clogged, pressure can build up and cause a mess. Make sure fermentation temperatures are stable. | Regular Checks: Inspect your equipment regularly for wear and tear. Replace any components that show signs of damage, such as cracked plastic or rusting metal. |
| Electric Setup: If you’re using an electric kettle or any powered equipment, make sure your electrical setup can handle the load. Use GFCI outlets where possible. | Bottling: Be careful when bottling to avoid introducing oxygen into your beer. Also, ensure bottles are capped tightly. | Storage: Store your equipment in a dry, clean area. Avoid damp places that could encourage mold growth. Keep everything organized to make your next brew day easier. |
How to Choose the Best Supplier for Home Brewing Equipment
Choosing the right supplier for your home brewing equipment can be daunting. With so many options available, it’s crucial to pick a supplier that offers the best value for your money. Here’s what you should consider:
| Consideration | What to Look For | Why It’s Important |
|---|---|---|
| Price | Compare prices across multiple suppliers. Look for deals, but don’t sacrifice quality for cost. | Price is important, but the cheapest option isn’t always the best. Quality should come first to ensure you get durable, reliable equipment. |
| Quality | Check reviews and ratings. Opt for suppliers that offer warranties or satisfaction guarantees. | High-quality equipment lasts longer and performs better, leading to better beer. |
| Customer Service | Look for suppliers with a strong reputation for customer support. | Good customer service can help you troubleshoot any issues you encounter. |
| Shipping | Consider shipping costs and times. Free shipping is a plus, but make sure it’s also fast and reliable. | Fast, affordable shipping ensures you get your equipment when you need it, without unnecessary delays. |
| Product Range | A wide range of products allows you to find everything you need in one place. | One-stop shopping can save you time and money, and ensure that all your equipment works well together. |
Comparing the Advantages and Limitations of Home Brewing Equipment
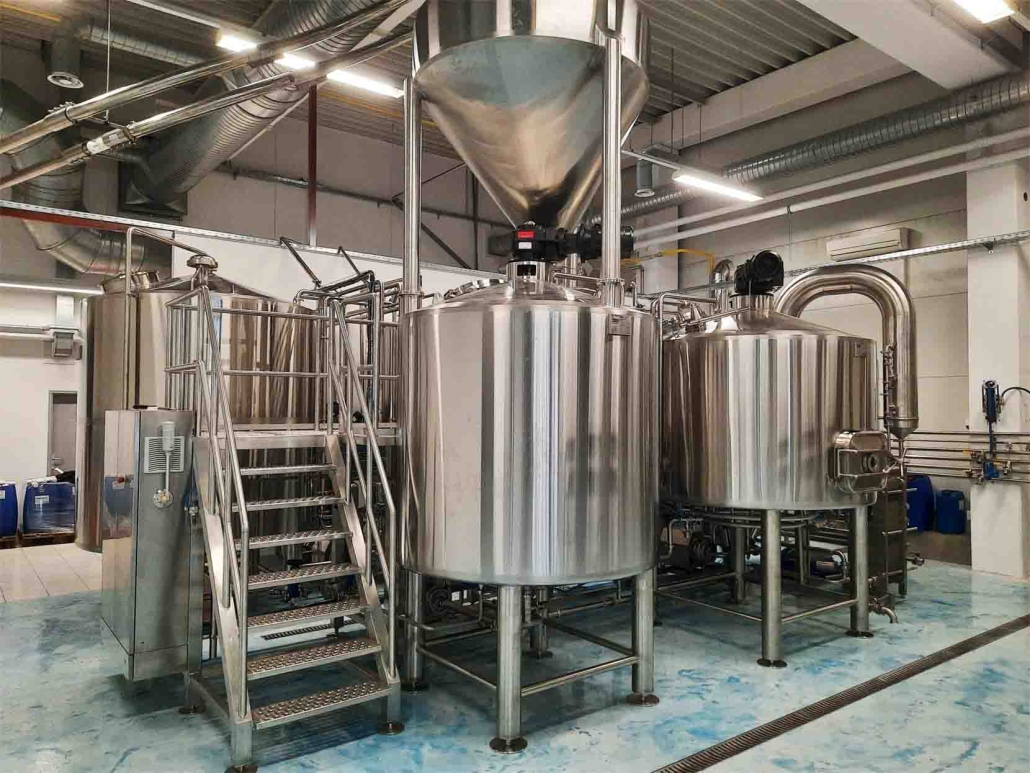
When it comes to home brewing equipment, not all setups are created equal. Depending on your brewing goals and experience level, certain types of equipment may be better suited for you than others. Let’s compare some of the pros and cons of different equipment options.
| Equipment Type | Advantages | Limitations |
|---|---|---|
| Plastic Fermenter | Lightweight, inexpensive, easy to use | Can scratch easily, which may harbor bacteria, less durable |
| Glass Carboy | Does not scratch easily, easy to clean, airtight | Heavy, fragile, can be difficult to move |
| Stainless Steel Fermenter | Durable, long-lasting, professional quality | Expensive, heavy, can be overkill for beginners |
| Electric Brewing Kettle | Easy temperature control, consistent heating | Requires a strong electrical setup, can be costly |
| Propane Brewing Kettle | Portable, high heat output | Requires propane, outdoor use only, less precise temperature control |
FAQs
Finally, let’s address some common questions that new home brewers often have. This FAQ section will help clear up any lingering doubts and provide some quick, useful information.
| Question | Answer |
|---|---|
| What is the best type of fermenter for beginners? | For beginners, a plastic fermenter is often recommended due to its affordability and ease of use. However, if you’re looking for something more durable, a glass carboy might be worth the investment. |
| How much should I expect to spend on a basic home brewing setup? | A basic home brewing setup can cost anywhere from $100 to $300, depending on the quality of the equipment and where you purchase it. |
| Can I brew beer indoors? | Yes, you can brew beer indoors, but you’ll need good ventilation, especially during the boiling phase, to avoid steam and odors. An electric kettle is often preferred for indoor brewing. |
| How do I clean my brewing equipment? | Use a specialized cleaner like PBW for scrubbing and a sanitizer like Star San to ensure your equipment is free from bacteria and other contaminants. |
| How long does it take to brew beer at home? | The brewing process itself takes about 4-6 hours. However, you’ll need to wait 1-2 weeks for fermentation and another 1-2 weeks for carbonation, so it’s typically a month before your beer is ready to drink. |

