How to Use A Conical Fermenter
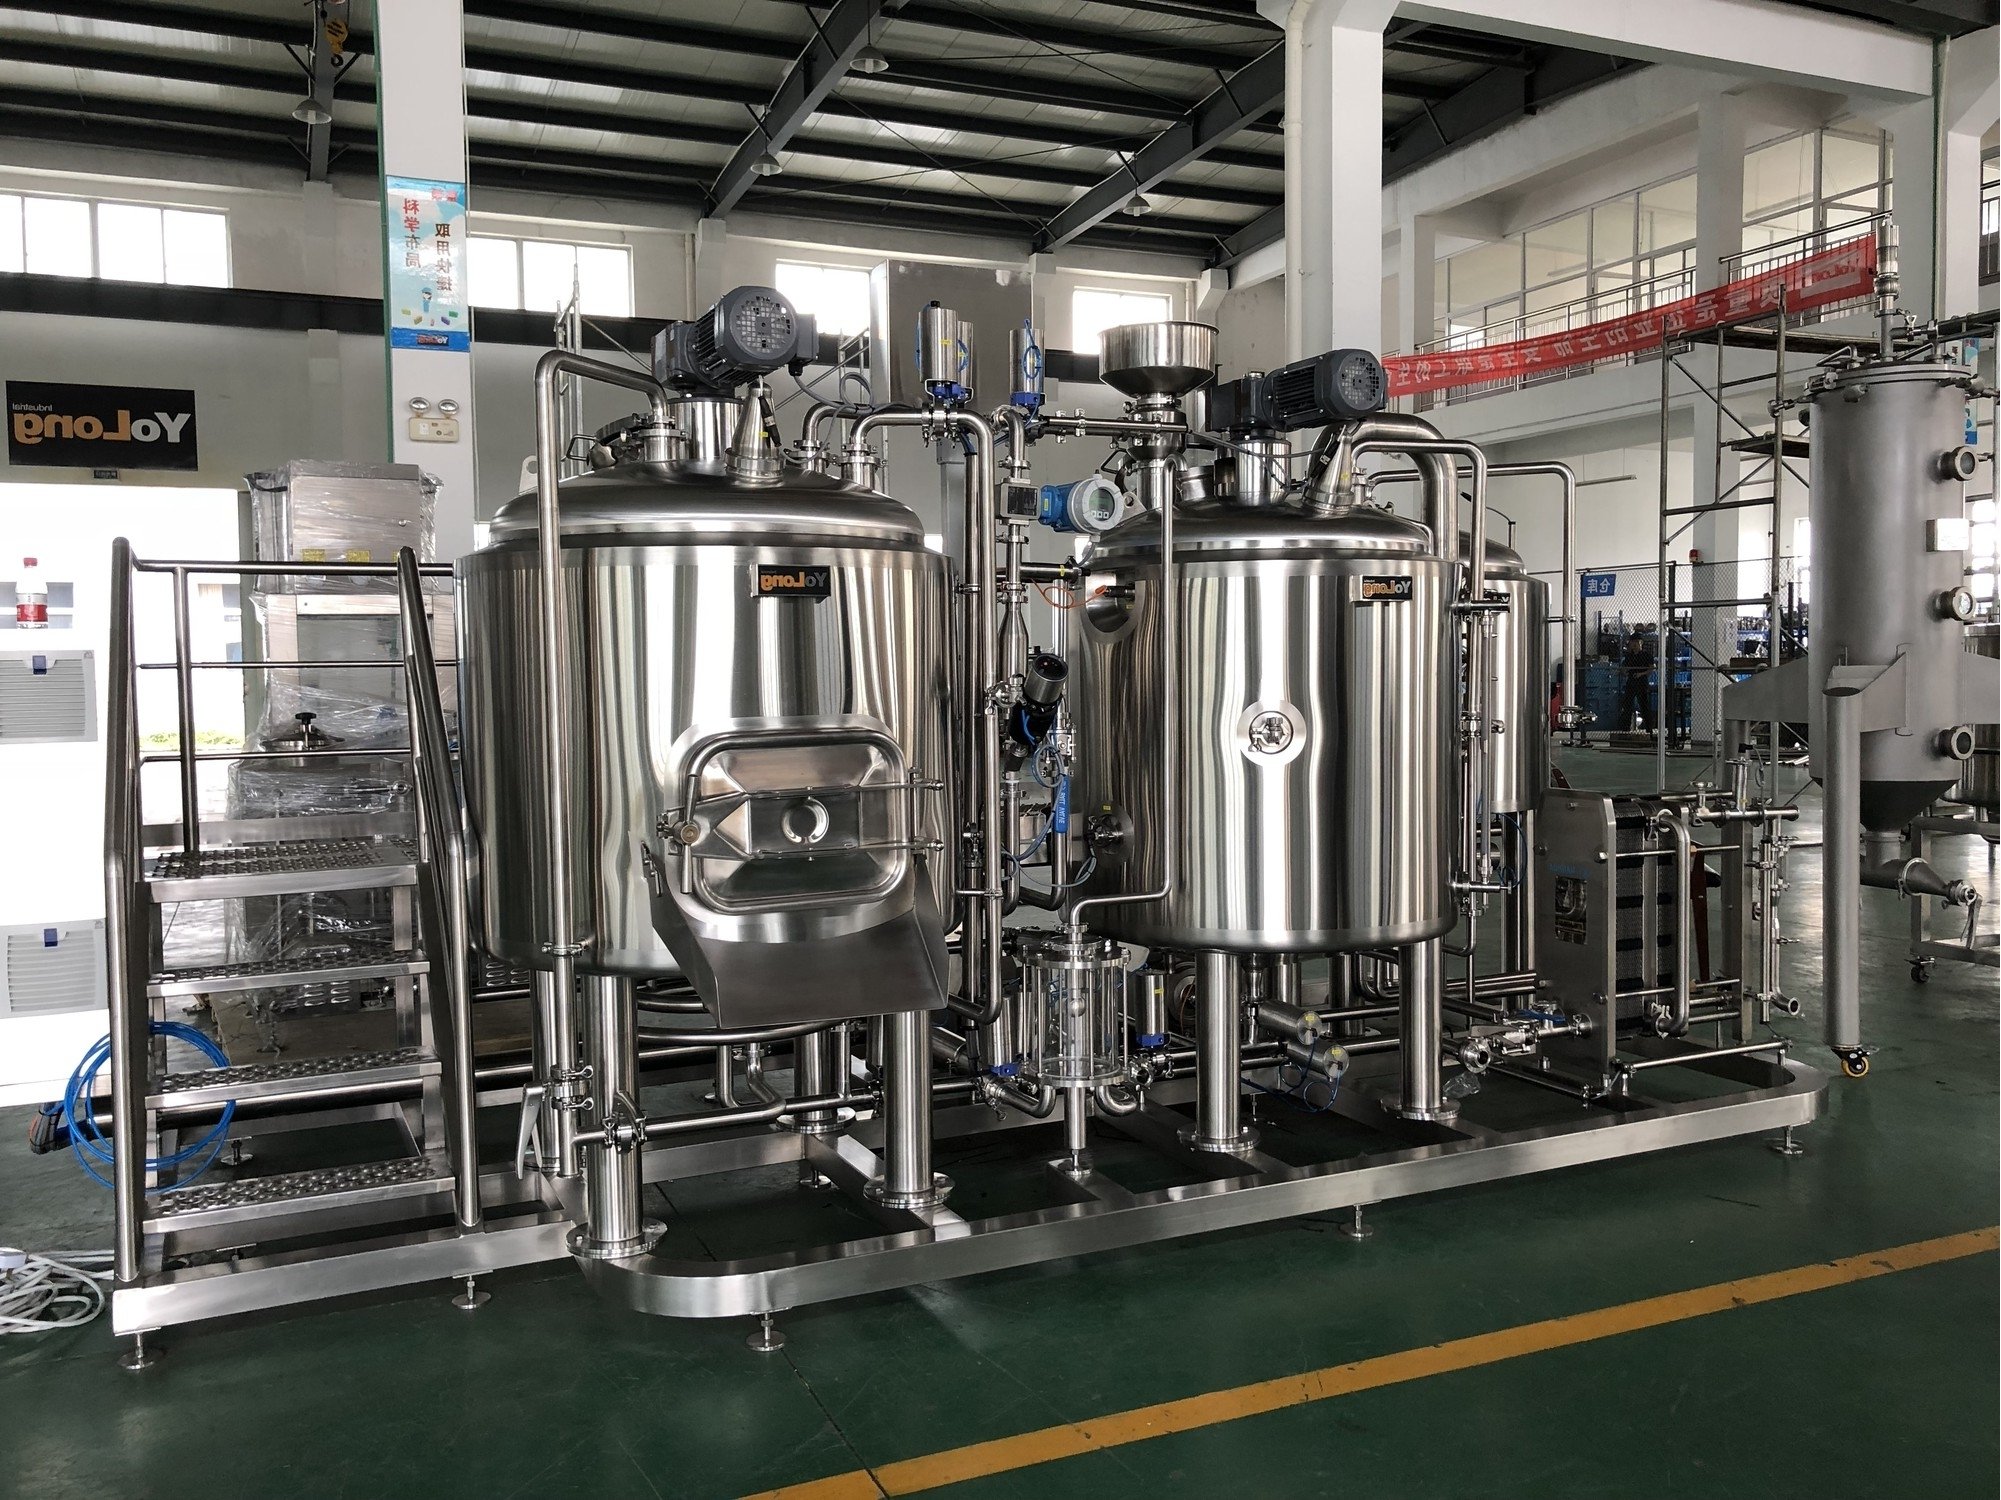
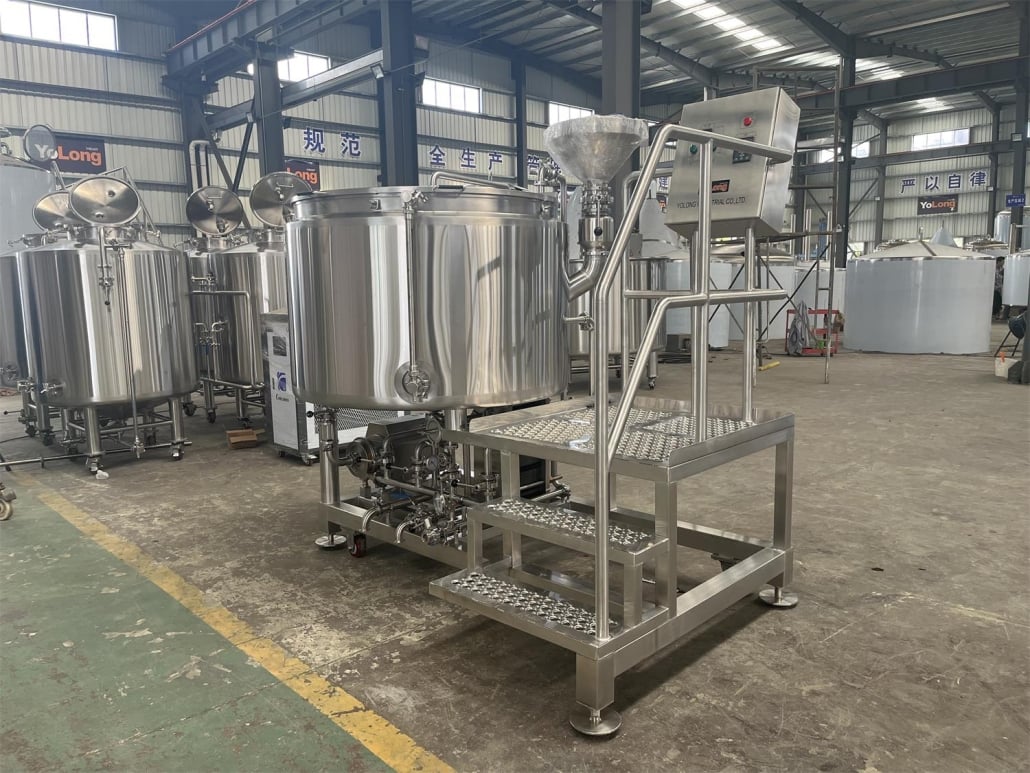
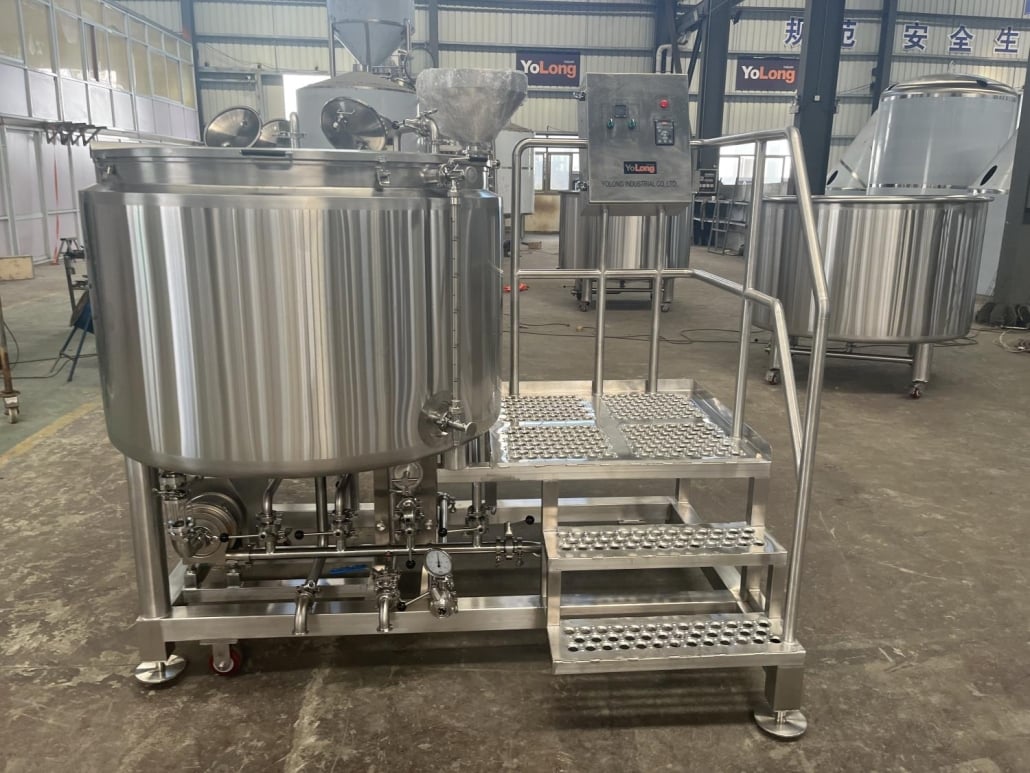
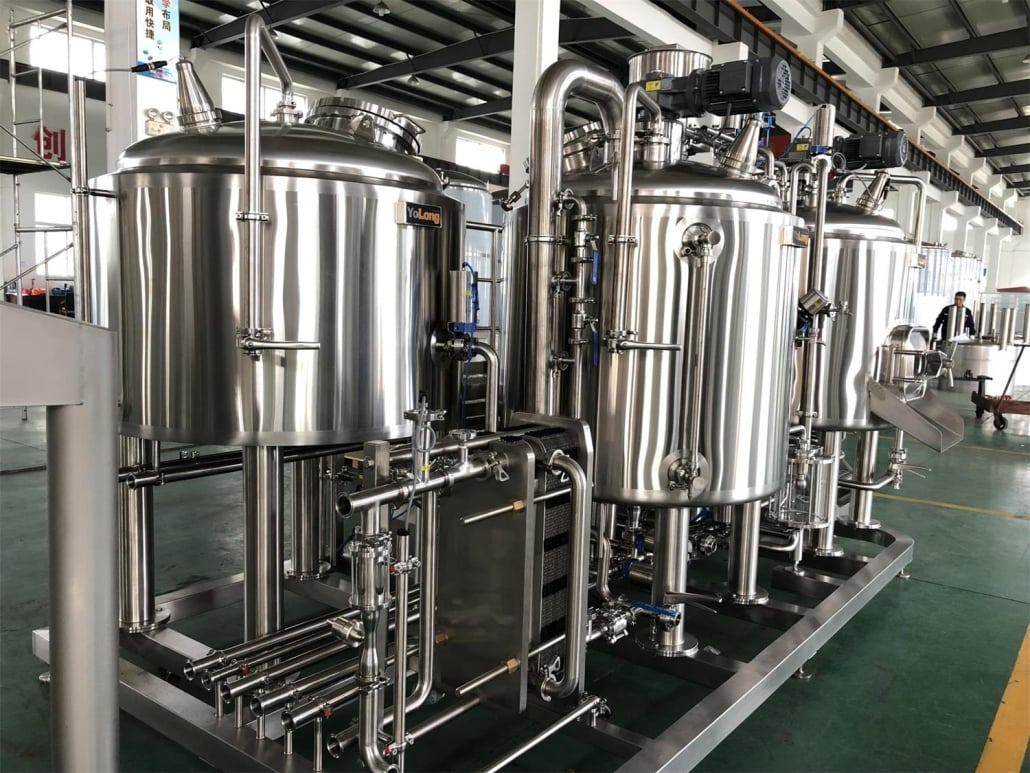
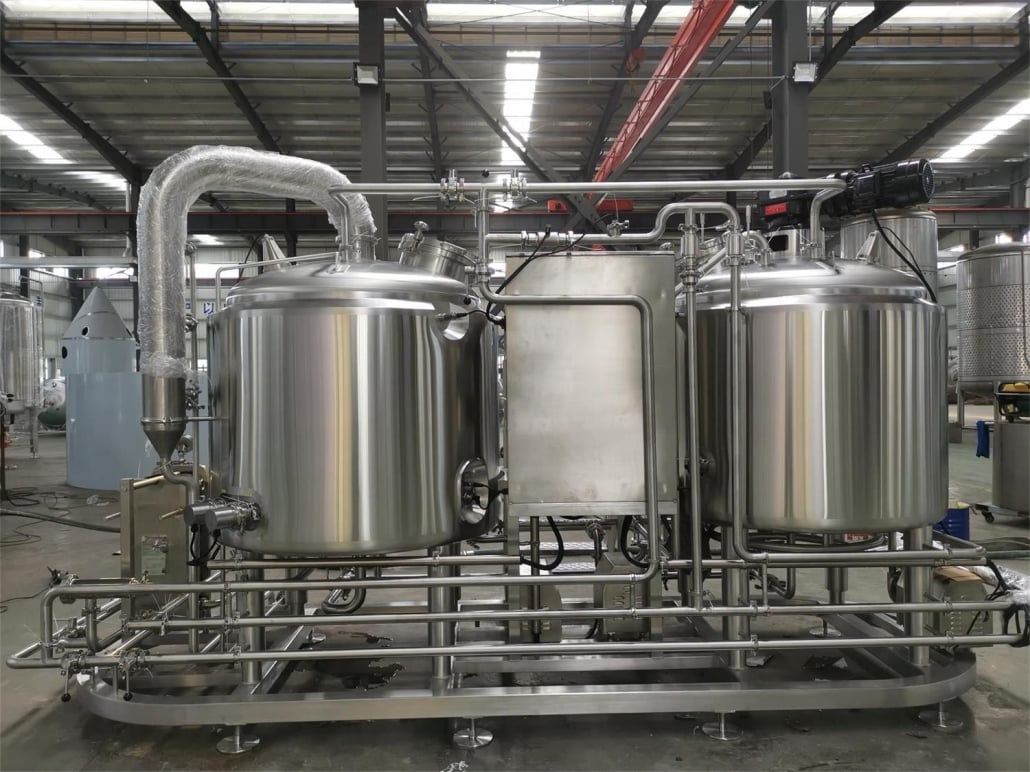
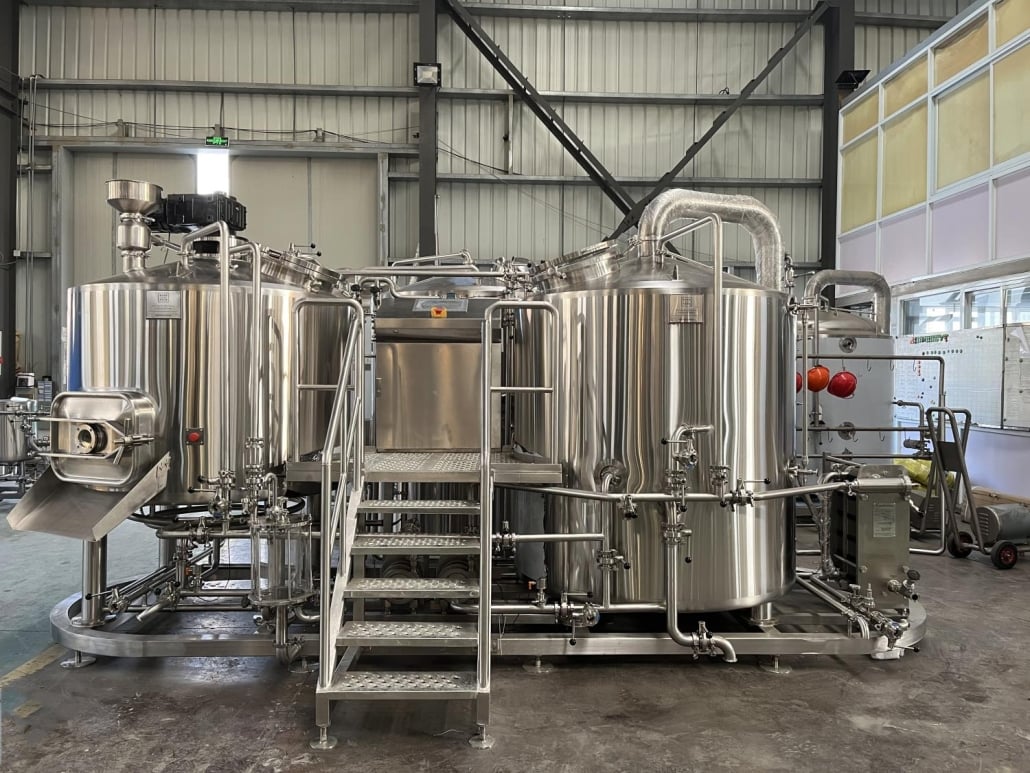
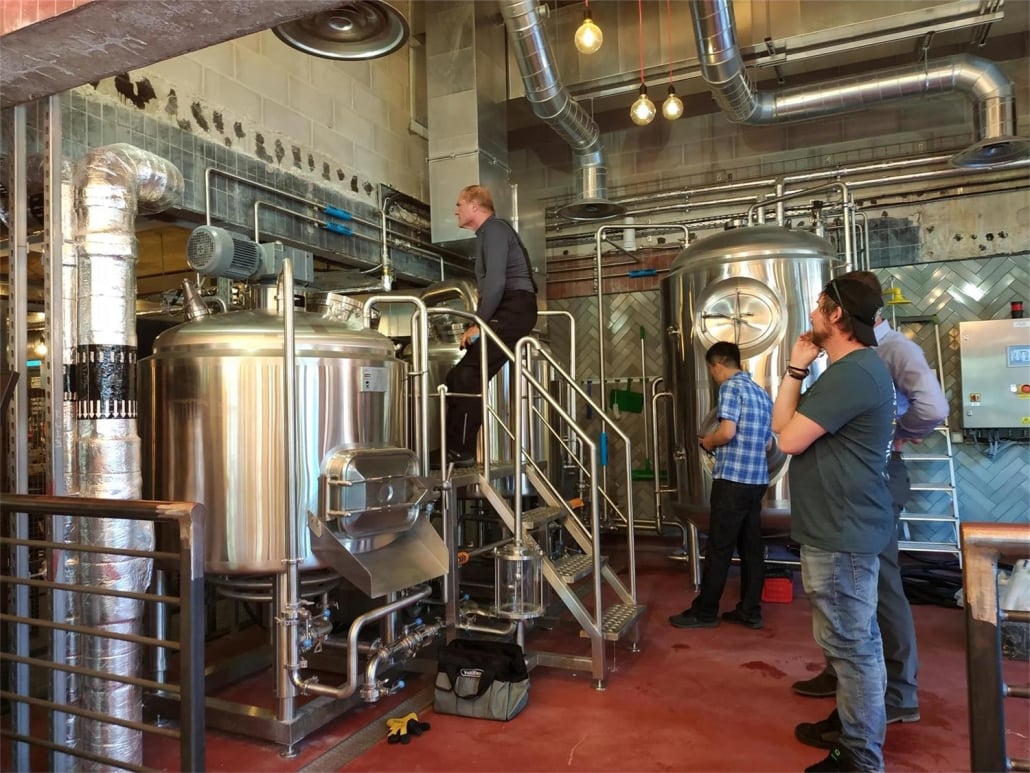
What Is a Conical Fermenter?
Ever heard a brewer talk about conical fermenters like they’re the holy grail of fermentation? That’s because, in many ways, they kind of are. A conical fermenter is a vessel used in the fermentation stage of beer brewing, shaped like—you guessed it—a cone at the bottom. This conical shape isn’t just for looks. It’s a genius design that allows yeast and sediment (called trub) to slide down and settle neatly at the bottom point. That makes separating the good stuff from the gunk way easier.
Most conical fermenters are made from stainless steel, though there are plastic ones too. The key feature is the cone, usually at a 60-degree angle, allowing for clean removal of sediment without disturbing the beer. Think of it like a natural gravity-powered filter. This design is what makes conical fermenters a favorite for both professional craft brewers and serious homebrewers.
Key Benefits of Using a Conical Fermenter
So why do brewers gush over conical fermenters like they’re the best invention since sliced bread? It’s all about efficiency, cleanliness, and quality. First off, that iconic conical shape helps you easily remove the trub and dead yeast without transferring your brew into a secondary fermenter. That means fewer chances of contamination, which can ruin your beer faster than you can say “diacetyl.”
Another major perk? You can harvest yeast for future batches. Yup, reusing your yeast isn’t just cost-effective—it also lets you maintain consistency in your brews. Plus, conical fermenters typically include a dump valve, so you can discard the sediment with minimal fuss. And here’s the kicker: many conical fermenters allow for pressurized fermentation and carbonation right in the same vessel. That’s a two-for-one deal your brewing setup will thank you for.
Cleanliness is another massive win here. Because everything settles to the bottom and can be dumped out, cleanup is a breeze. No more trying to scrape gunk out of a flat-bottomed bucket. The stainless steel models are especially sanitary and resistant to bacteria—critical when you’re dealing with something as finicky as fermentation.
How to Use a Conical Fermenter
Using a conical fermenter isn’t rocket science, but a little know-how goes a long way. First, make sure your fermenter is squeaky clean and sanitized. Contamination is the enemy of good beer. Fill it with your cooled wort and pitch your yeast as usual. Seal it up and attach an airlock or blow-off tube to manage gas escape during fermentation.
As fermentation kicks in, you’ll notice the sediment collecting in the cone. After the primary fermentation phase (usually a week or so), you can open the dump valve and discard the trub. If you’re doing a secondary fermentation, you don’t even need to move your beer to another vessel—just dump the junk and let it keep going.
If you’ve got a pressurizable model, you can also carbonate in the same fermenter. This can save time and reduce oxidation risk. Once you’re done fermenting and possibly carbonating, you can bottle or keg directly from the fermenter’s spigot. Easy peasy.
Choosing the Right Conical Fermenter for Your Brewing Setup
| Model | Material | Capacity | Best For | Ease of Cleaning | Fermentation Pressure Support | Approximate Price Range |
|---|---|---|---|---|---|---|
| SS Brewtech Chronical BME | Stainless Steel | 7 gal / 14 gal | Intermediate to Pro | Very Easy (CIP Capable) | Yes (15 PSI+) | $500–$1000 |
| FermZilla All Rounder | PET Plastic | 7.1 gal / 13.2 gal | Beginners / Budget | Easy | Yes (35 PSI Max) | $100–$150 |
| Blichmann Fermenator | Stainless Steel | 7 gal / 14.5 gal | Advanced Brewers | Very Easy (Tri-Clamp) | Yes (30 PSI Max) | $700–$1200 |
| FastFerment Conical | HDPE Plastic | 7.9 gal | Entry-Level / Space-Conscious | Moderate | No | $100–$200 |
| Spike CF Series | Stainless Steel | 7 gal / 14 gal | Pro-Grade / DIY Mods | Easy (Butterfly Valves) | Yes | $700–$1100 |
Best Conical Fermenters for Home Brewing
When it comes to home brewing, not everyone needs an industrial setup with all the bells and whistles. But trust me, having a conical fermenter in your arsenal can really elevate your brewing game. For beginners on a budget, the FermZilla All Rounder is a fantastic entry point. It’s affordable, lightweight, and supports pressurized fermentation, which is a huge win at this price point.
If you’re looking to step it up a notch, the SS Brewtech Chronical series offers the perfect balance of quality and price. These fermenters are built like tanks and offer CIP (Clean In Place) systems, sampling valves, and thermowells for precise temperature control. Want to go all-in? The Blichmann Fermenator is one of the best out there—beautifully engineered, easy to clean, and ideal for pressurized fermentation.
Got a small space? The FastFerment Conical is wall-mountable and compact, perfect for apartment brewers. Want something modifiable? The Spike CF series is like the LEGO of fermenters—tons of accessories and highly customizable.
FAQ
| Question | Answer |
|---|---|
| What’s the point of the cone shape? | It helps sediment settle neatly at the bottom, making it easy to remove without disturbing the beer. |
| Are conical fermenters better than buckets or carboys? | Yes, for serious brewers. They reduce contamination, allow yeast harvesting, and simplify cleaning. |
| Can I ferment under pressure in any conical fermenter? | Only if it’s rated for pressure. Look for models that support 15 PSI or more for pressure fermentation. |
| Is stainless steel better than plastic? | Stainless steel is more durable, easier to sanitize, and supports pressurized fermentation, but it’s pricier. |
| Do I still need to use a secondary fermenter? | Not with a conical. Just dump the trub from the bottom and continue fermenting in the same vessel. |
| How do I clean a conical fermenter? | Rinse with water, scrub gently (if needed), and use a no-rinse sanitizer. Some models support CIP (Clean In Place) systems. |
Additional FAQs on Using a Conical Fermenter (2025)
1) How often should I dump trub and harvest yeast in a conical fermenter?
- For most ales: dump hot/cold break 12–24 hours after pitch, then again on day 3–5; harvest clean yeast after high krausen subsides. Adjust for yeast strain and gravity.
2) What pressure should I target for spunding in a pressure-rated conical fermenter?
- Typical range 0.5–1.0 bar (7–15 psi) late fermentation. Start spunding ~2–4°P above terminal gravity to capture CO2 without stalling yeast.
3) How do I minimize oxygen pickup during dry hopping with a conical fermenter?
- Use a CO2‑purged hop doser or purge a tri‑clamp tee/hop tube; keep the tank slightly positive (0.1–0.2 bar) and avoid opening top manways post‑fermentation.
4) Which CIP practices are most effective for small stainless conicals?
- Verify sprayball coverage (riboflavin test), circulate alkaline cleaner at spec temp/time, follow with acid rinse for beerstone, then sanitize. Log temp, time, and conductivity.
5) What accessories give the best ROI for conical fermenter usability?
- Thermowell + external temp control, spunding valve, adjustable racking arm or floating dip tube, sample valve, carbonation stone, and 1.5–2” dump valve for fast yeast removal.
2025 Industry Trends for Conical Fermenters
- Pressure-ready as default: More home and pilot conicals are certified to 1–2 bar with upgraded PRVs for safe spunding and closed transfers.
- Oxygen control by design: Built‑in CO2 ports, dedicated dry‑hop dosing valves, and low‑DO transfer kits reduce staling.
- Sensor integration: Thermowells, pressure transducers, and app‑connected controllers enable remote monitoring and batch logs.
- Hygienic finishes: Electropolished internals (≤Ra 0.6–0.8 μm) and crevice‑free fittings speed CIP and lower contamination risk.
- Sustainability: Insulation jackets and better glycol valve control reduce energy during fermentation and cold crash.
Conical Fermenter KPIs and Setup Benchmarks (2025)
| Metric | Target/Typical | Why it matters |
|---|---|---|
| Fermentation temp stability | ±0.3–0.8°C | Consistent attenuation/esters |
| Working pressure rating | 1–2 bar with certified PRV | Safe spunding/closed transfers |
| Cold crash rate | 1–2°C per hour to 0–2°C | Clarity without shocking yeast |
| Internal surface finish | ≤Ra 0.6–0.8 μm, electropolished | Faster, more reliable CIP |
| Knock‑out DO | <50–150 ppb | Flavor stability |
| CIP cycle time | 30–60 minutes (small tanks) | Turn time and labor efficiency |
| Yeast harvest time | <10 minutes via 1.5–2” dump | Viability and clarity |
| Dry hop oxygen ingress | Near‑zero with purged dosing | Protects hop aroma |
Selected sources: Brewers Association QA resources; ASBC Methods of Analysis; OEM specs (SS Brewtech, Spike, Blichmann, GEA/Steinecker); industry press 2024–2025.
Latest Research Cases
Case Study 1: Spunding + Closed Transfers Extend IPA Freshness (2025)
- Background: A pilot brewery using conical fermenters saw hop fade and slight oxidation by week 6 in cans.
- Solution: Implemented spunding at ~10 psi from 2°P above FG, CO2‑purged dry‑hop dosing, and fully closed transfers with pressure‑rated lines and purged kegs.
- Results: Packaged TPO improved to 60–90 ppb; sensory shelf life extended ~4 weeks at 4°C; returns for “oxidized” notes dropped 32% over two release cycles.
Case Study 2: CIP Validation Eliminates Phenolic Off‑Notes (2024)
- Background: Advanced homebrewer with a 14 gal stainless conical had sporadic medicinal phenols.
- Solution: Performed riboflavin coverage tests, increased pump flow to sprayball spec, added acid CIP for beerstone removal, and replaced worn EPDM gaskets with FKM.
- Results: Off‑notes resolved across 5 consecutive batches; CIP time decreased 15%; water/chemical use reduced ~12% while maintaining microbiological passes (ATP swabs).
Expert Opinions
- Tom Shellhammer, Ph.D., Professor of Fermentation Science, Oregon State University
- Viewpoint: “Pressure control and trub management in conical fermenters measurably improve flavor stability and foam retention.”
- Mary Pellettieri, QA Consultant; Author of “Quality Management for Craft Beer”
- Viewpoint: “Document CIP parameters and measure DO/TPO—tying sanitation and oxygen control to data is the fastest route to consistent beer.”
- John Palmer, Author of “How to Brew”
- Viewpoint: “Temperature accuracy and sanitary design come first. Add spunding and closed transfer capability to turn a good conical into a pro‑level tool.”
Practical Tools and Resources
- Brewers Association (QA, cellar practices): https://www.brewersassociation.org
- ASBC Methods of Analysis (oxygen, microbiology, sensory): https://www.asbcnet.org
- ProBrewer community threads (conicals, spunding, CIP): https://www.probrewer.com
- OEM specs/accessories (conical fermenters): https://www.ssbrewtech.com | https://spikebrewing.com | https://www.blichmannengineering.com
- QA instruments (DO/TPO, CO2, density): https://www.anton-paar.com
- Safety guidance for pressure vessels/PRVs: https://www.osha.gov
Implementation tip: When setting up a conical fermenter, request PRV certification, pressure test documentation, internal finish (Ra), sprayball flow/pressure curves, and port maps. Standardize a purged dry‑hop method and a closed transfer SOP to protect aroma and shelf life.
Last updated: 2025-09-29
Changelog: Added 5 FAQs focused on spunding, dry hopping, and CIP; 2025 conical fermenter trend table with KPIs; two case studies on oxygen control and CIP validation; expert viewpoints; and curated tools/resources
Next review date & triggers: 2026-03-31 or earlier if BA/ASBC QA targets change, new PRV/pressure standards are issued, or OEM conical specifications materially shift
Share this entry
Interested in learning more about Brewing Systems including additional details and pricing information? Please use the form below to contact us!
YOLONG BREWERY EQUIPMENT FAQS
- Commercial Brewery / Craft Brewery / Microbrewery / Nanobrewery
- What is The Difference Between Craft Beer and Industrial Beer?
- The Bespoke Differences In Custom Brewing Systems
- Everything You Need to Know About Kettle Souring
- How to Choose Brewing Equipment for Your business?
- How To Choose The-Best Partner To Build Your Commercial Microbrewing System?
- Two Detection Sensors That You Need To Use In Your Brewhouse System
- Remote Control Applications in Brewing Equipment/How does it work?
- How To Clean Your Brand New Brewery Tanks?